


In 2025, Makers Empire is partnering once again with The Andy Thoma…
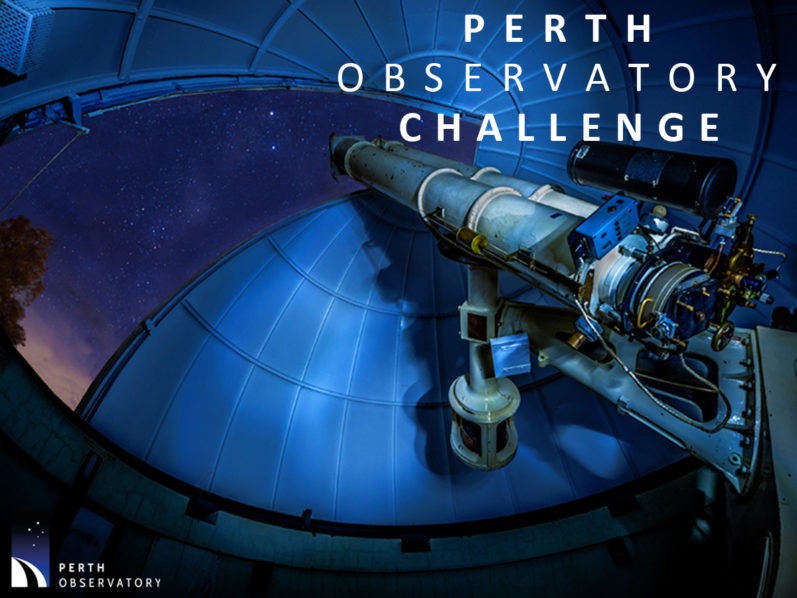
Perth Observatory Challenge: A Free Space History Education Program…
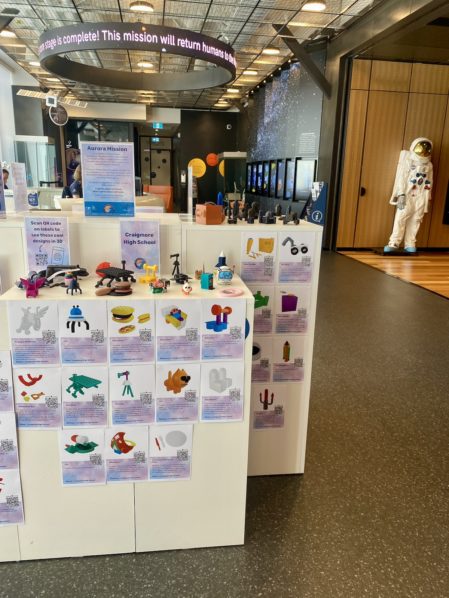
What is the Aurora Inclusion Initiative? Following successful progr…
How to import 3D designs made in Makers Empire into CoSpaces (AR)

Budget planning and Edtech purchasing and integration tips for teac…
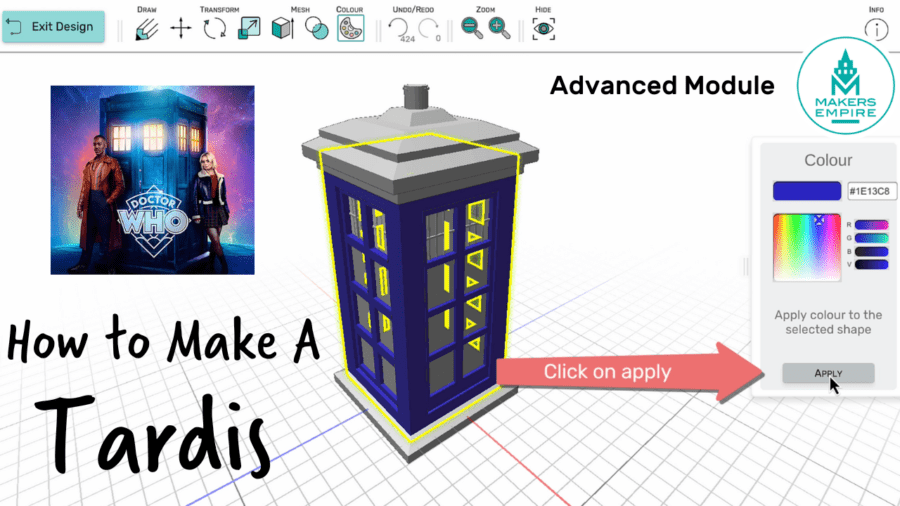
MAkers Empire’s recently released Advanced module bridges the…
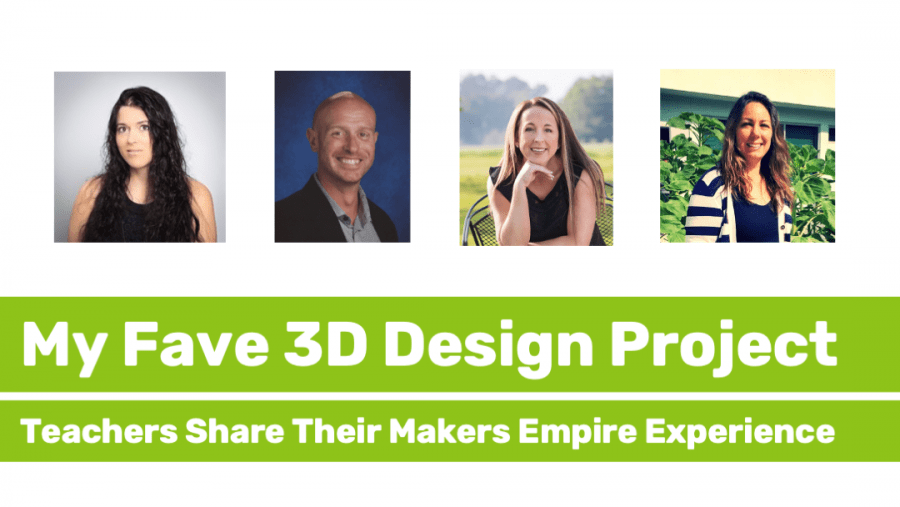
We asked some of our American elementary and middle school teachers…
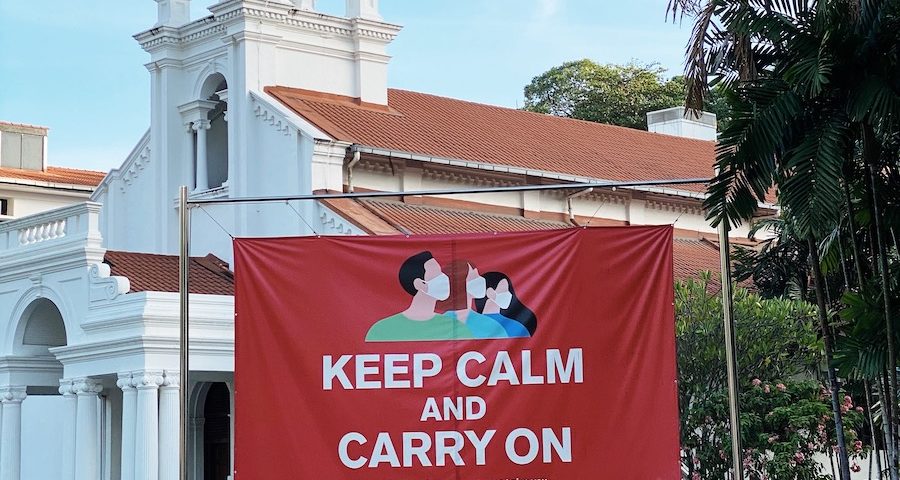
We’ve seen a recent surge of activity around the world as health au…

We are all navigating unchartered territory as we learn to cope wit…
