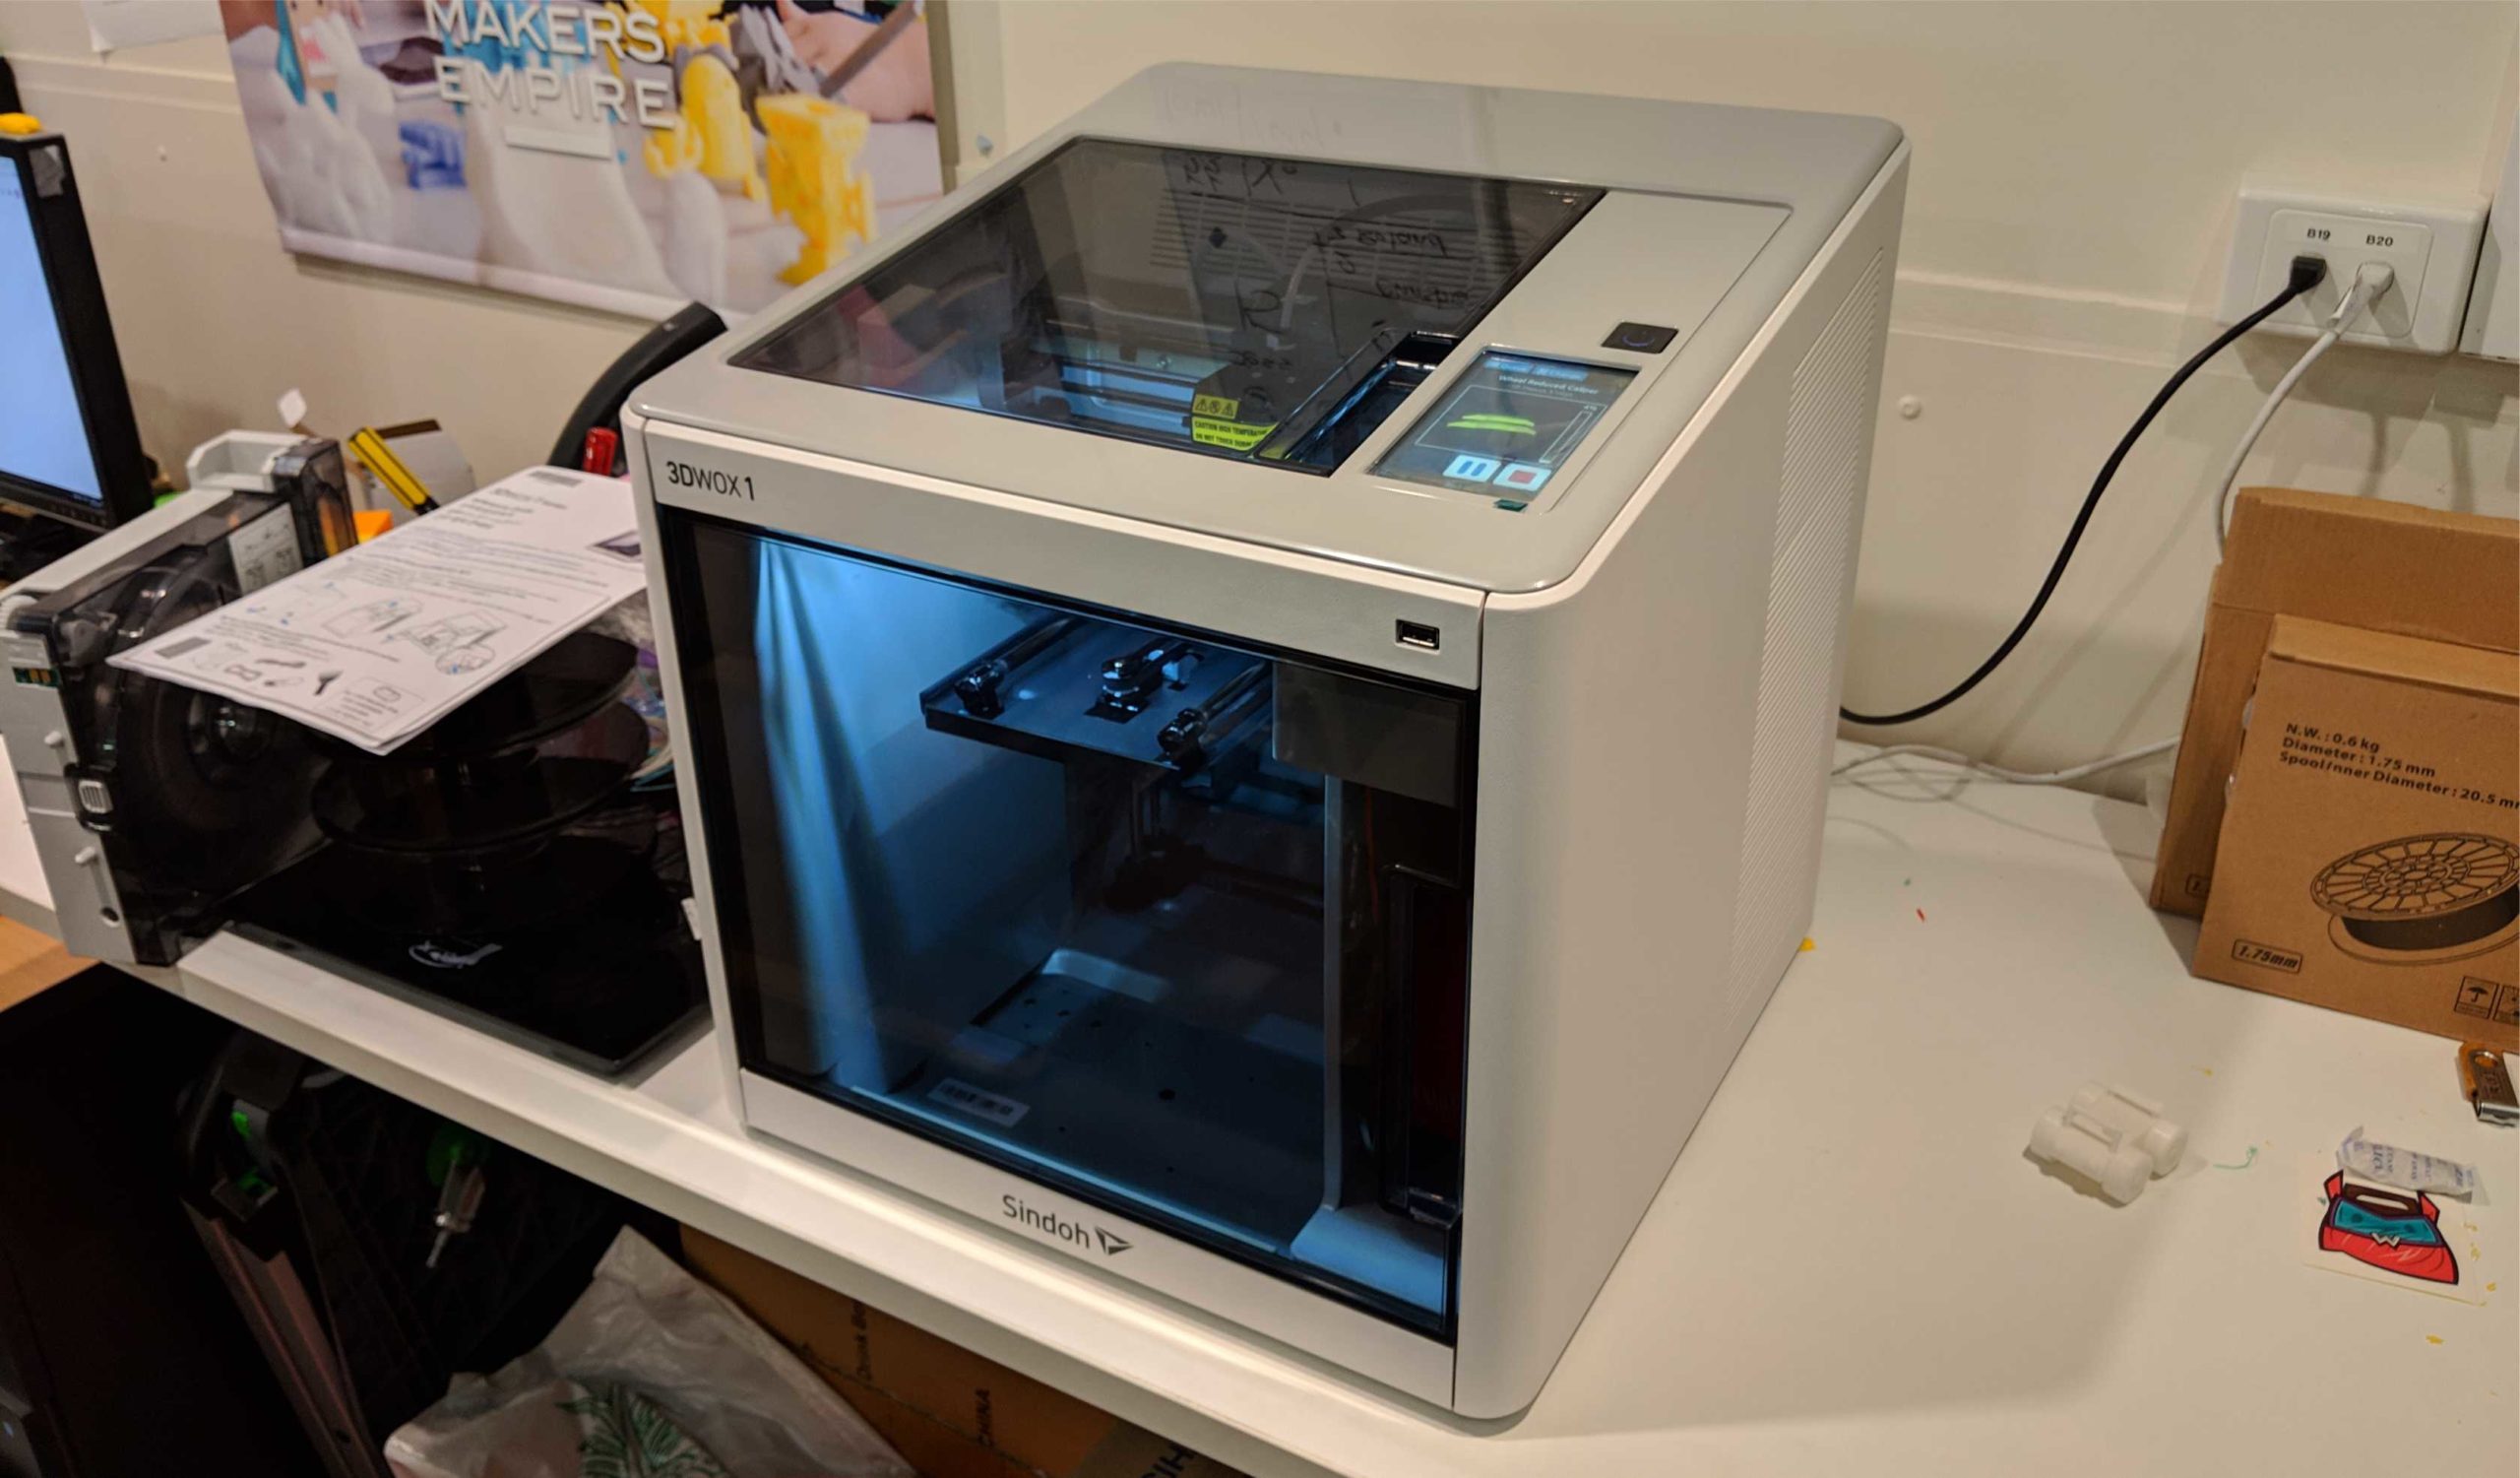
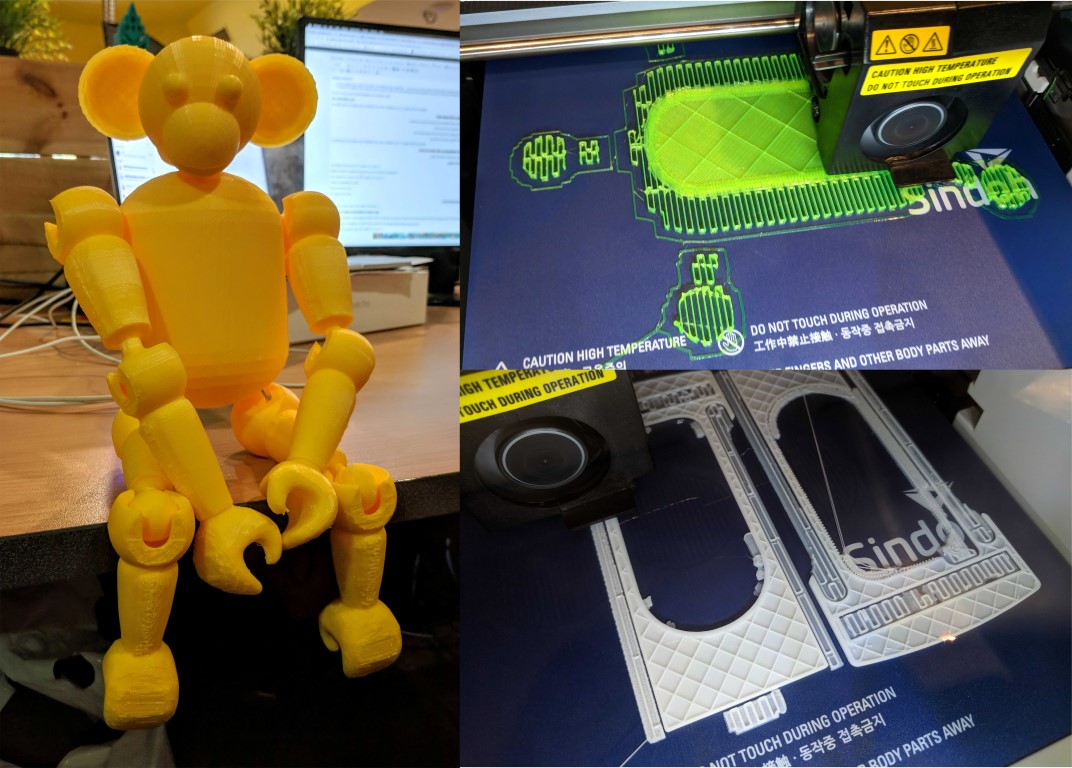
At Makers Empire, we regularly test potential new 3D printers that could be suitable for elementary, primary and middle schools so we can recommend the best to our global community of educators. So we’ve spent the past two months testing a brand new 3D printer, the Sindoh 3D Wox 1.
Sindoh is a little-known company based out of Korea, and you may not have heard of them before. I know we hadn’t. The company began manufacturing photocopiers in the 1960s and only started making 3D printers in 2015, but wow, have they hit the nail on the head! They’ve got so many ingredients right with this 3D printer, with the execution to match.
The Key Facts
- Name: 3D Wox 1
- Manufacturer: Sindoh (Korean)
- Price: about $2,500AUD from official resellers. It has not been released in Australia yet.
- Process: Fused Deposition Modelling
- Build Volume: 210 x 200 x 195 mm
- Heated Bed: Yes
- Particle Filter: Yes
Pros:
- Completely automatic filament loading (when using their refillable cartridges) complete with silicone wiper that wipes excess filament off of the nozzle.
- Assisted levelling only uses two thumbscrews and is really quick to calibrate.
- Responsive and detailed touchscreen, complete with graphical instructions when you need to do something.
- Ethernet port for super simple network connection (it has Wifi, too).
- Removable, flexible bed. Everything we printed stuck first time, and everything came off easily with a bit of flex to the bed.
- Built-in camera used to monitor prints from your internet browser (needs to be connected to the same network).
- Built-in memory to queue up print jobs. I could send five different prints I needed, and once one had finished, as soon as the printer is ready to go, it’d start on the next one.
Cons:
- Incredibly automated operation could result in difficulties if anything goes wrong. We only had one issue that was an easy fix.
- When using ‘Open Material’ mode, inserting your own rolls of filament can be tricky if you don’t know what you’re doing.
- Some of the front panels felt a bit ‘plasticy’. When we open the front door, it creaks and pops a bit.
- The refillable cartridges can only be filled with Sindoh brand filament (there’s a silicon chip with each new roll that you need to install).
How Did it Print?
It prints really well. There’s two user modes in the 3DWox software: ‘Easy’ and ‘Advanced’. As you can guess, in Easy mode, you get four basic print options of varying speed and quality. In Advanced mode, you get all your standard advanced settings like speeds and feeds, layer height control, shell thicknesses, etc.
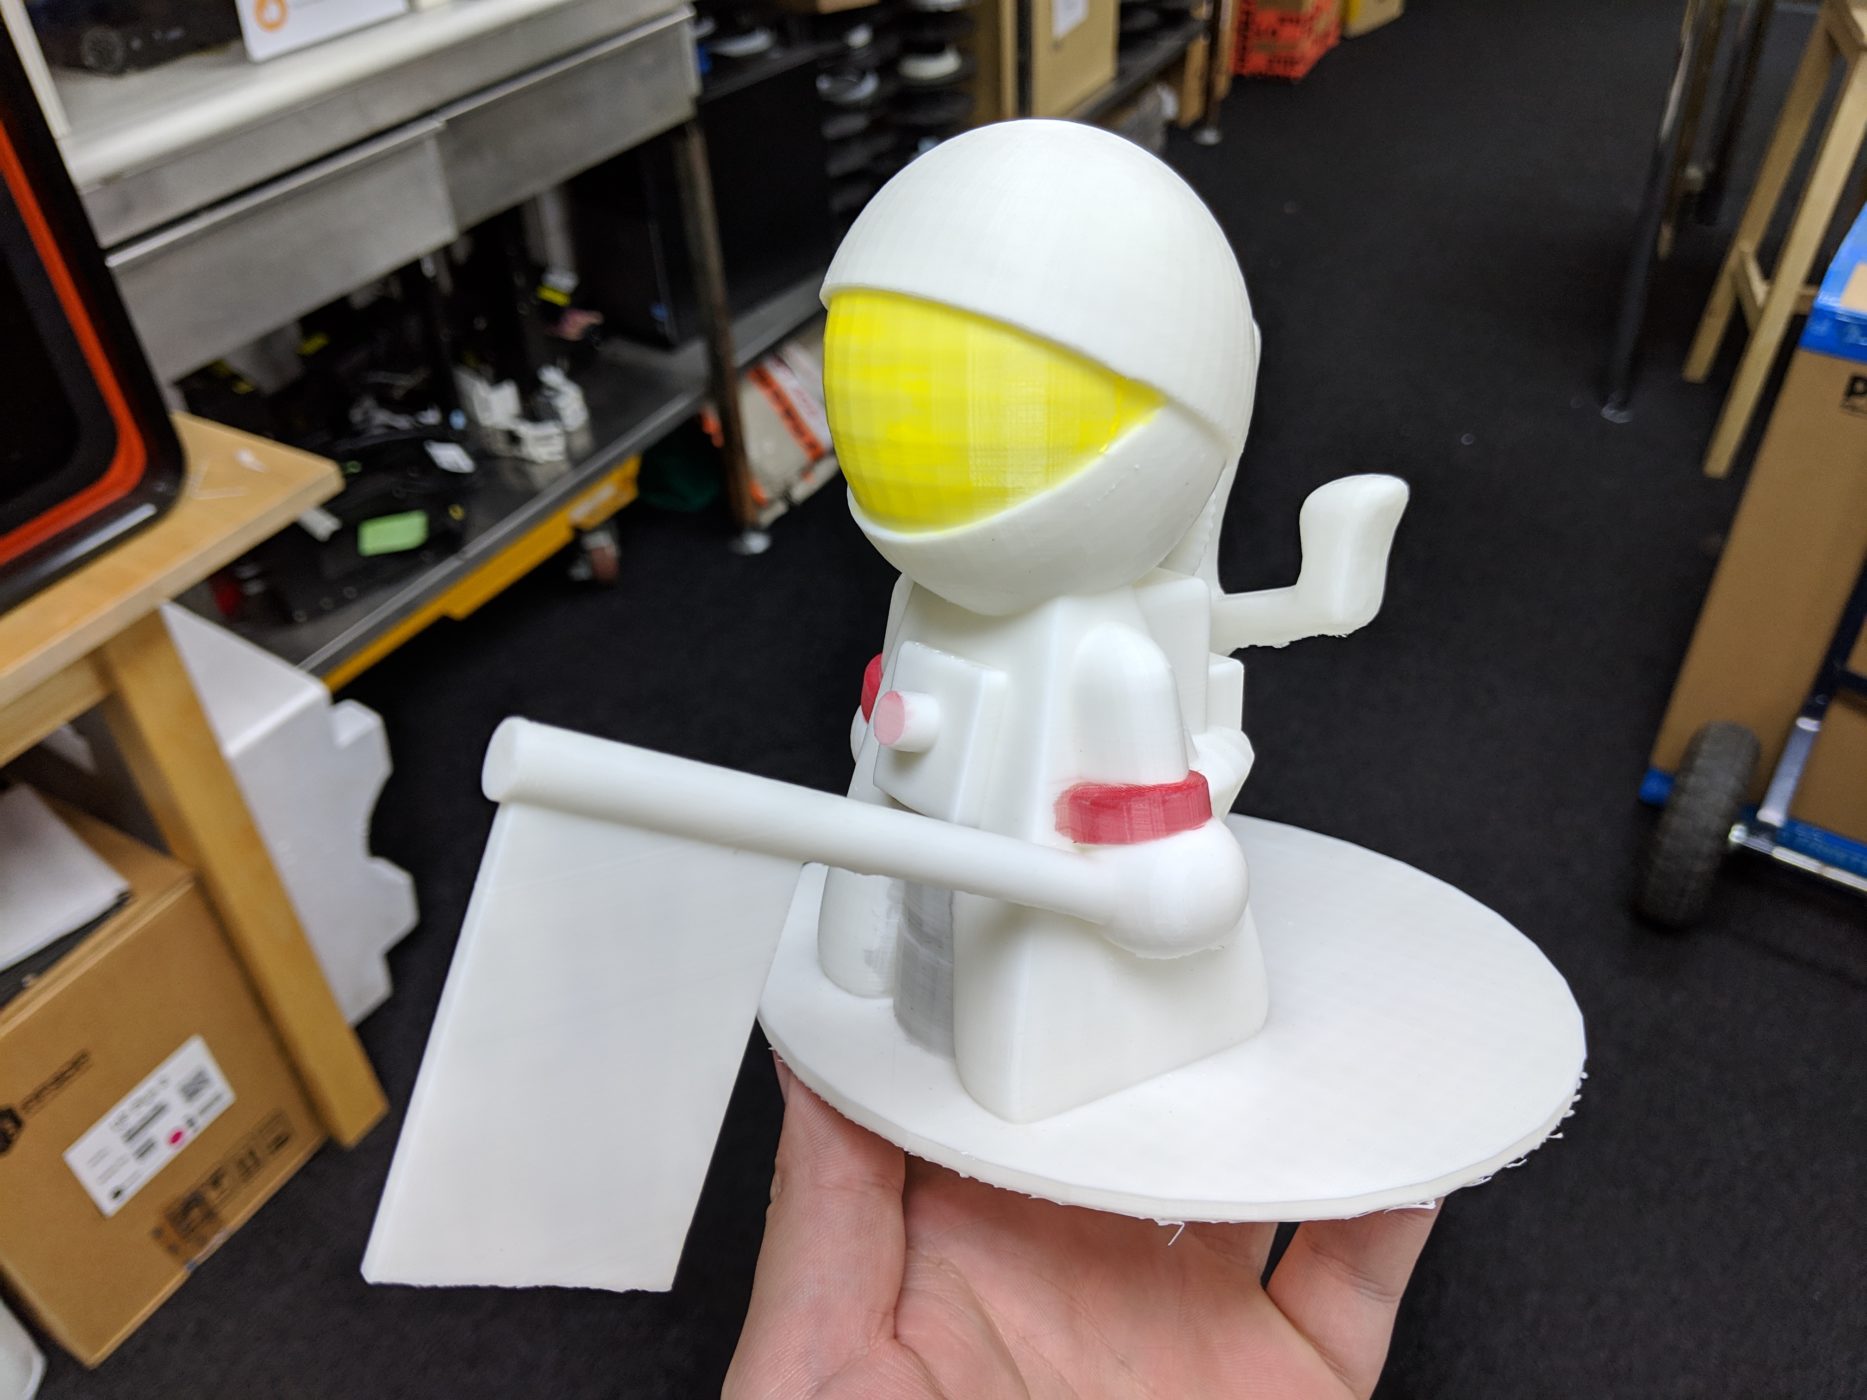
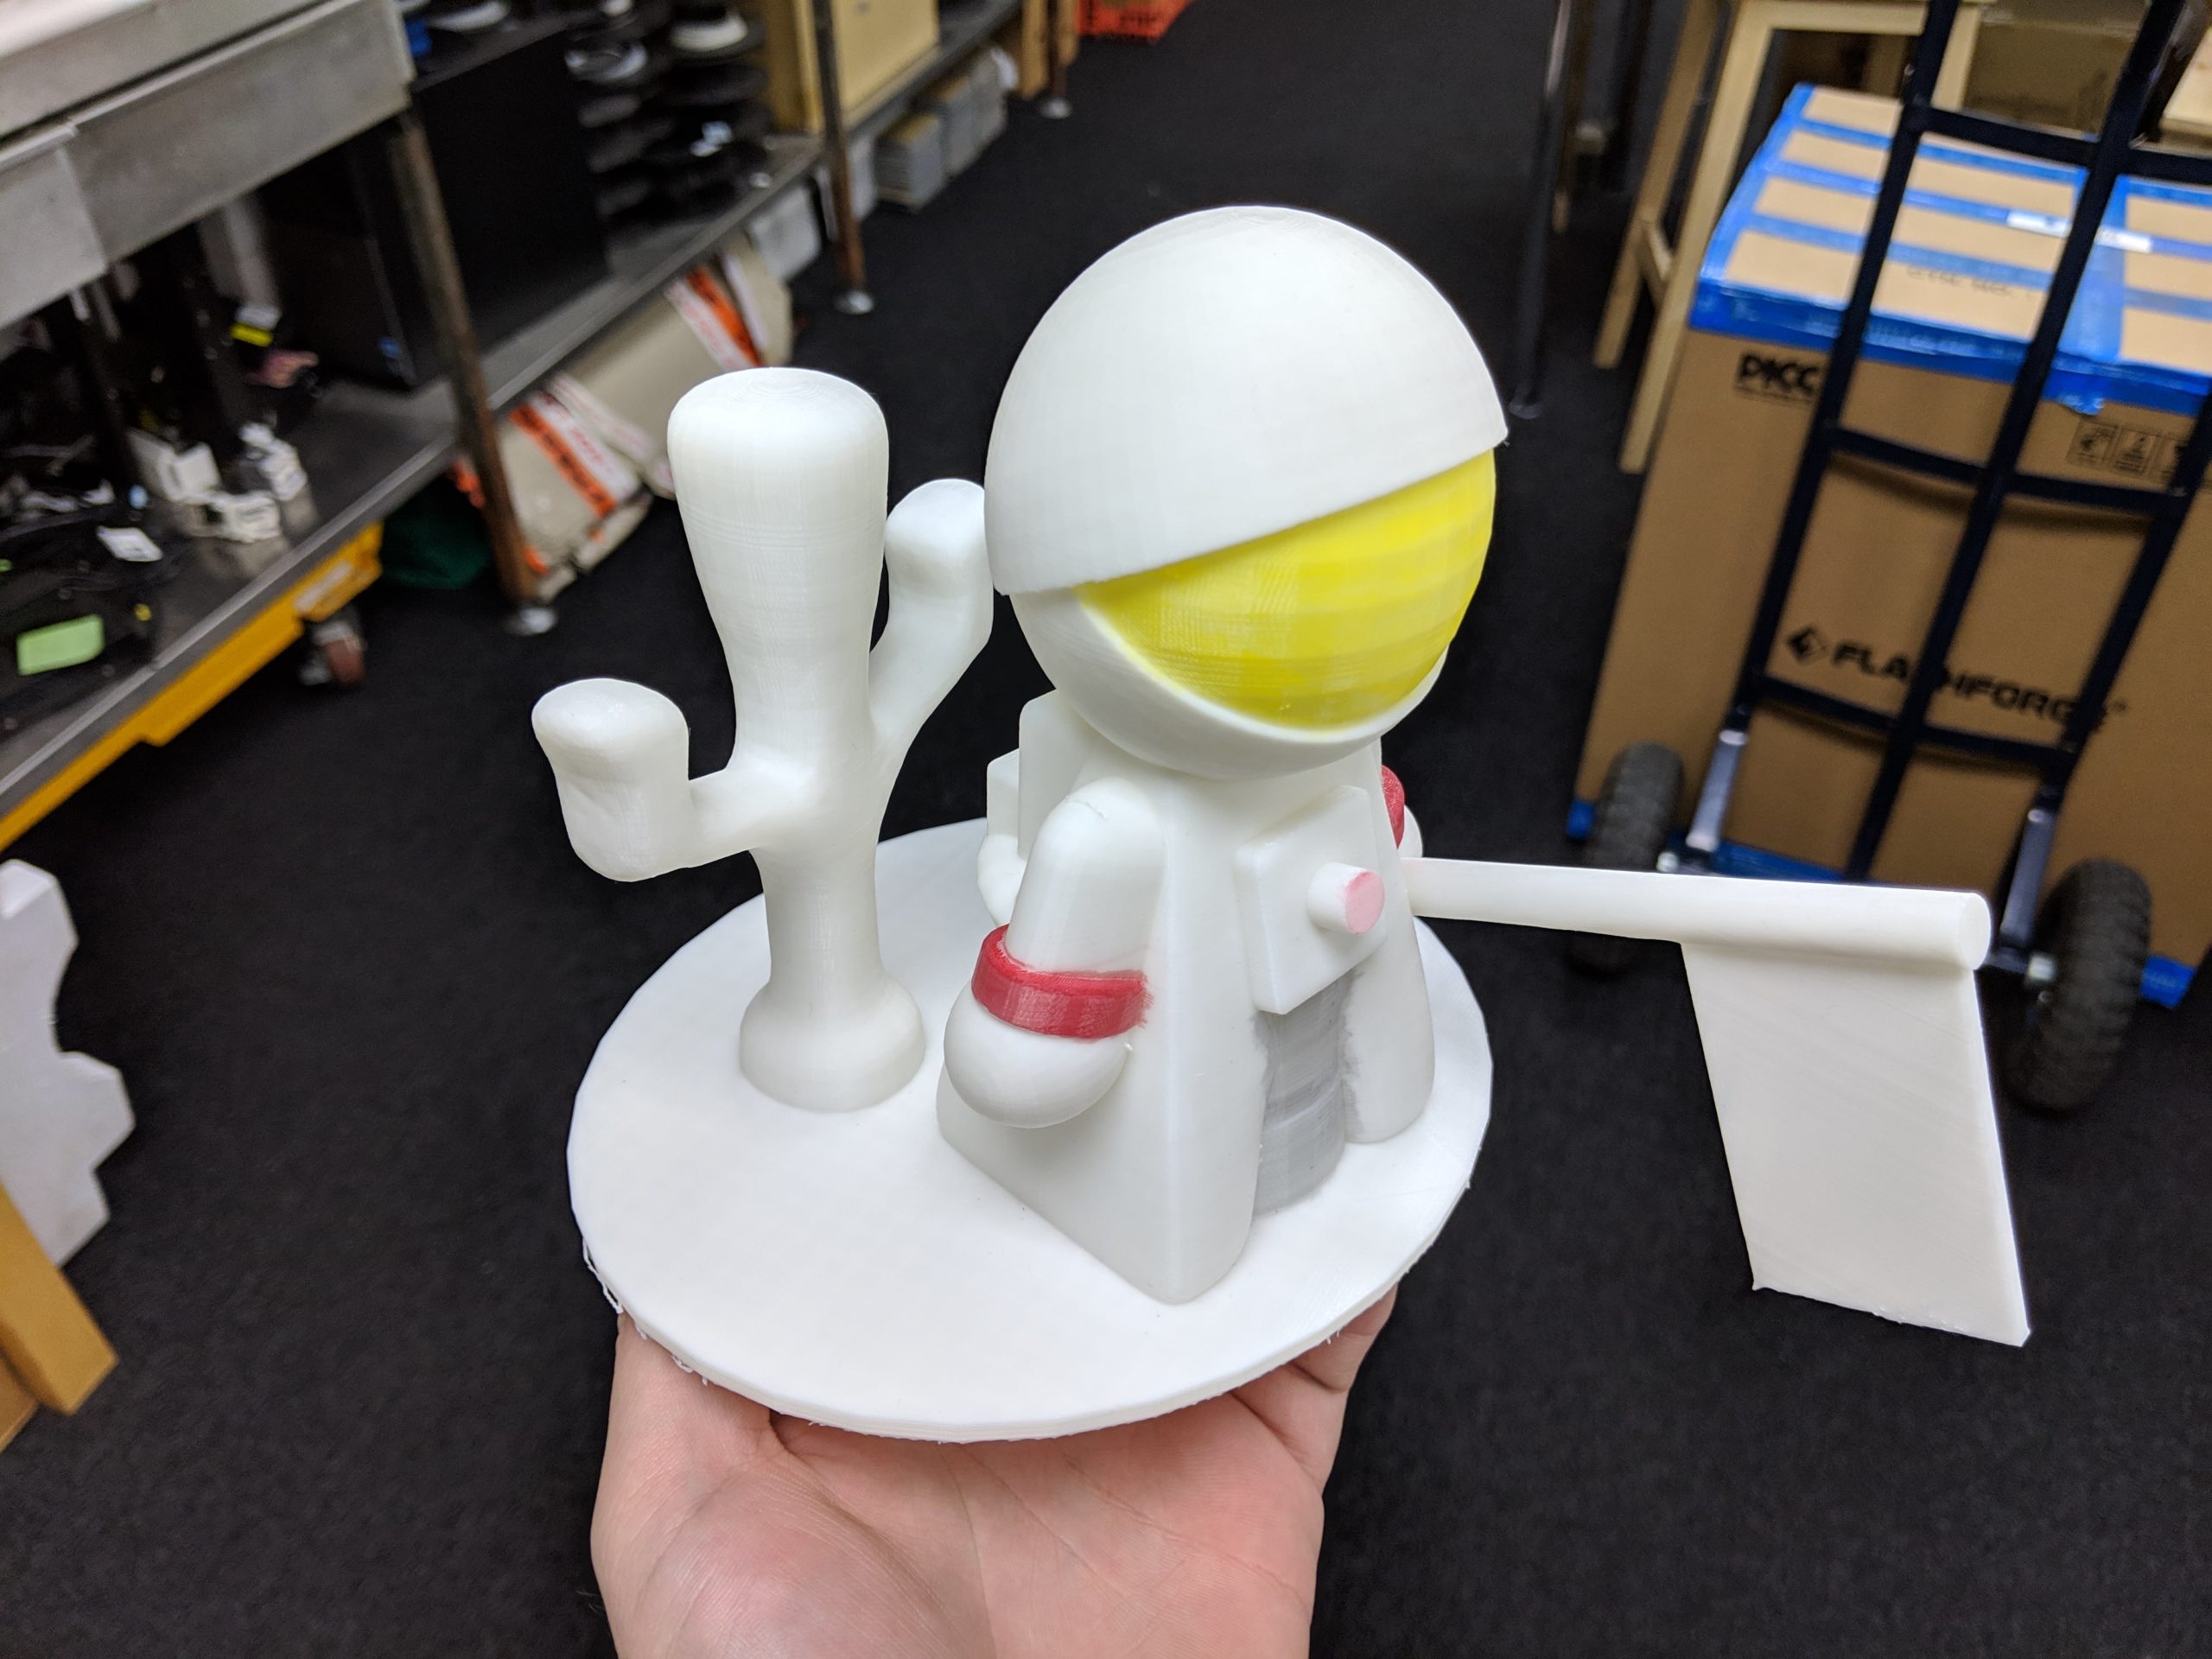
The first test I did was a big astronaut designed by ToyDesigner2 using Makers Empire 3D (see below). The print was set to maximum quality in ‘Easy’ mode, and took about 36 hours. It came out really well. The printer had no problems with it, and the raft and support were easy to remove. I later began printing without rafts, too. NOTE: I coloured parts of this print in with a sharpie after it was done.
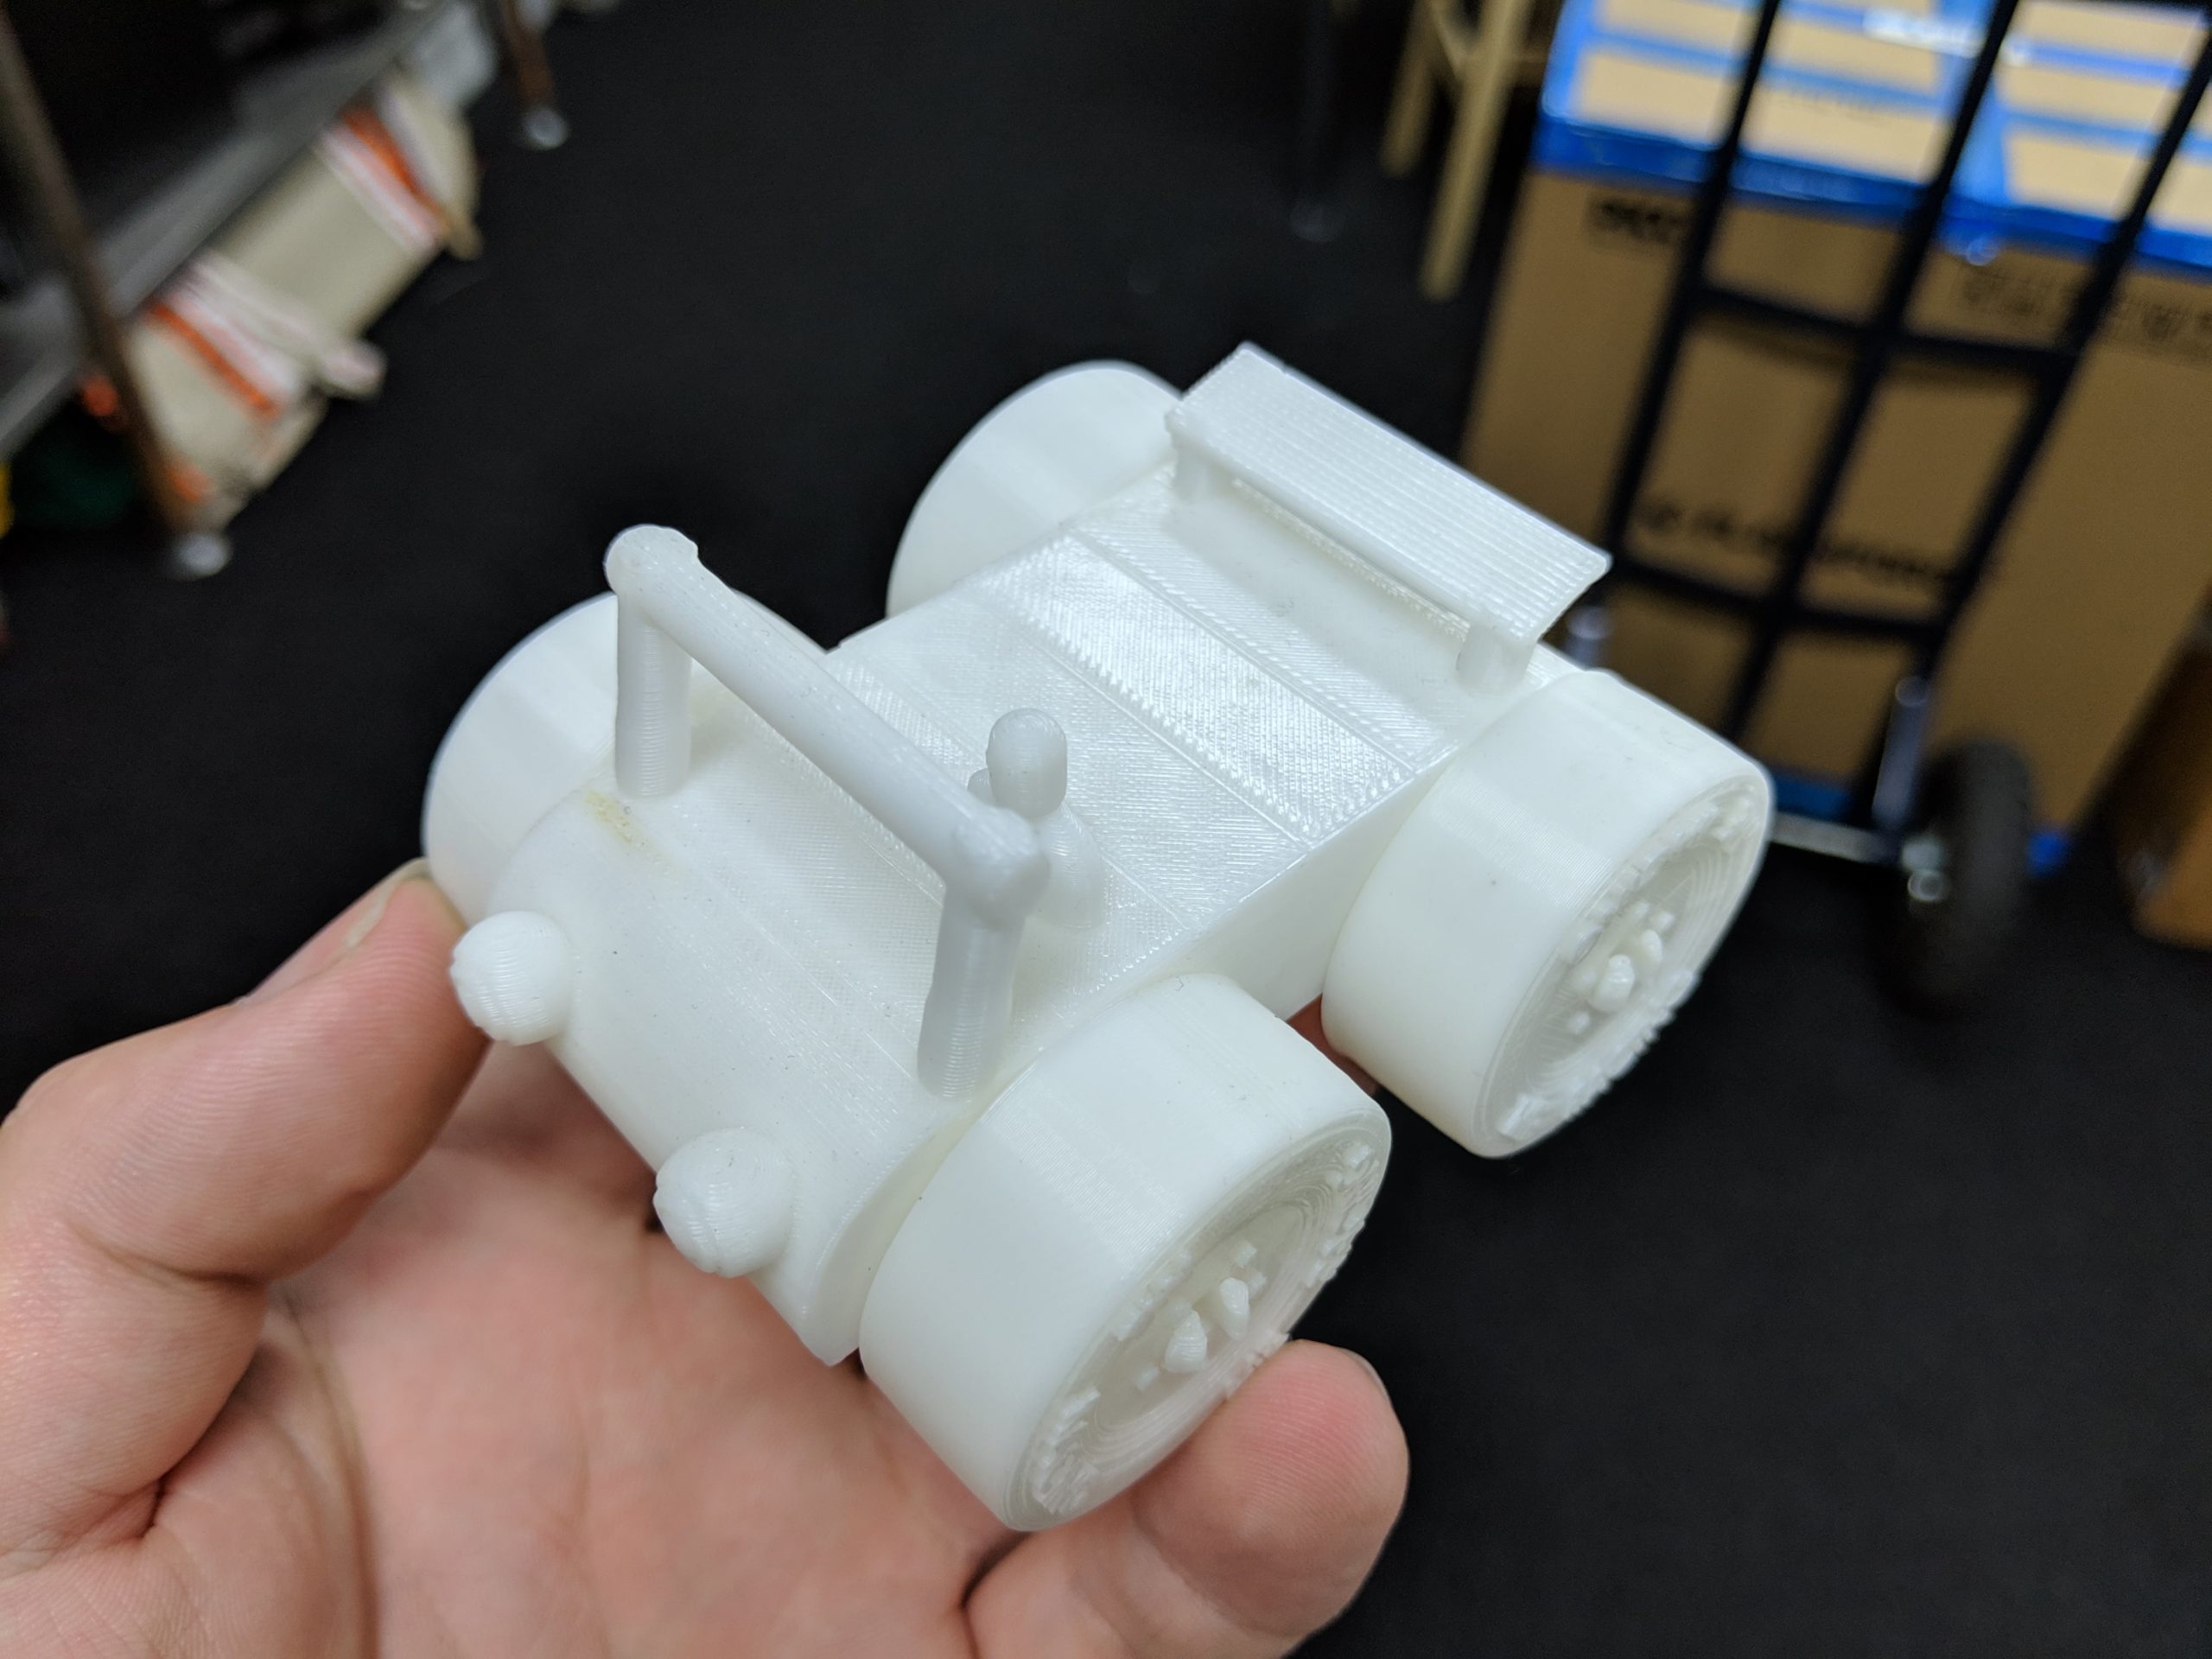
Next up I printed a car designed using Makers Empire 3D that has wheels that you clip on afterwards (see below). It was on standard settings and took about six hours (On the fast setting it would be done in about three hours). I was really impressed with the print quality on standard settings too, and everything on the car worked well.
Since then we’ve been printing a lot, about 800 hours in the two months we’ve had the printer. At one point someone was printing labyrinth maze boxes, and would print about 15 boxes at a time. It’s been more than reliable, and I’ve been happy with the print quality it can produce.
Unique Features
This printer has a couple of unique features that we really like.
The bed levelling process is easy as it only uses two thumbscrews at the front of the printer. It’s such a simple iteration of the traditional 3 point leveling system, but it’s just so much easier when you only have to worry about two points. One is fixed, and the other two points just need to be adjusted to match and you’re done!
The whole filament system is really clean and easy to use if you do use the Sindoh Refillable Cartridges. The process of loading filament goes like this… Insert Cartridge, it’ll ask if you want to load filament and you click ‘Yes’. That’s it, the printer will push the filament into the extruder, purge the old colour, catch the purged filament, and clean off the nozzle by itself.
When using ‘Open Material’ mode, it’s still very easy. You navigate the menu to the filament loading page and it’ll give you instructions. You need to insert your filament into a small slot at the front of the printer, then on-screen select the temperature for your filament. Once it grabs the filament and starts loading, you can put your roll inside where the cartridge usually goes and it’ll handle the rest just like the cartridge filament.
Another aspect of the filament system, is that the printer has run-out detection. It’ll pause a print if it runs out, and you can refill it and continue the print. This goes one step further… It can somehow tell the difference between running out of filament, and when filament has broken inside the tube. Bowden style printers like this usually require you to disassemble them, and remove the tube to clear the broken filament. But the 3D Wox 1 will automatically clear the debris from the tube for you. I’m pretty sure my jaw actually hit the floor when it did this for me.
The Verdict
The Sindoh 3D Wox 1 might just be my new favourite printer, considering the price is less than half of something as high-caliber as the Cubicon Single Plus. It’s just so incredibly easy to use, and the fact that we can queue an entire class worth of prints onto the memory in the printer is awesome.
It’s also the small things, of which there are many, that really make this printer worthwhile.
If you’re happy to pay the premium of having Sindoh cartridges, your experience with this printer will be just about perfect.
If you want to use your own filament, then your experience will still be awesome, and probably better than any other printer we have in the same price range.
By the way, it also meets all Department for Education (SA) requirements regarding 3D printers for schools as of November 2018.
AUTHOR BIOGRAPHY


